By JW Tool Box
Batch Watermark Photos Free (No Upload) | 2026 Guide
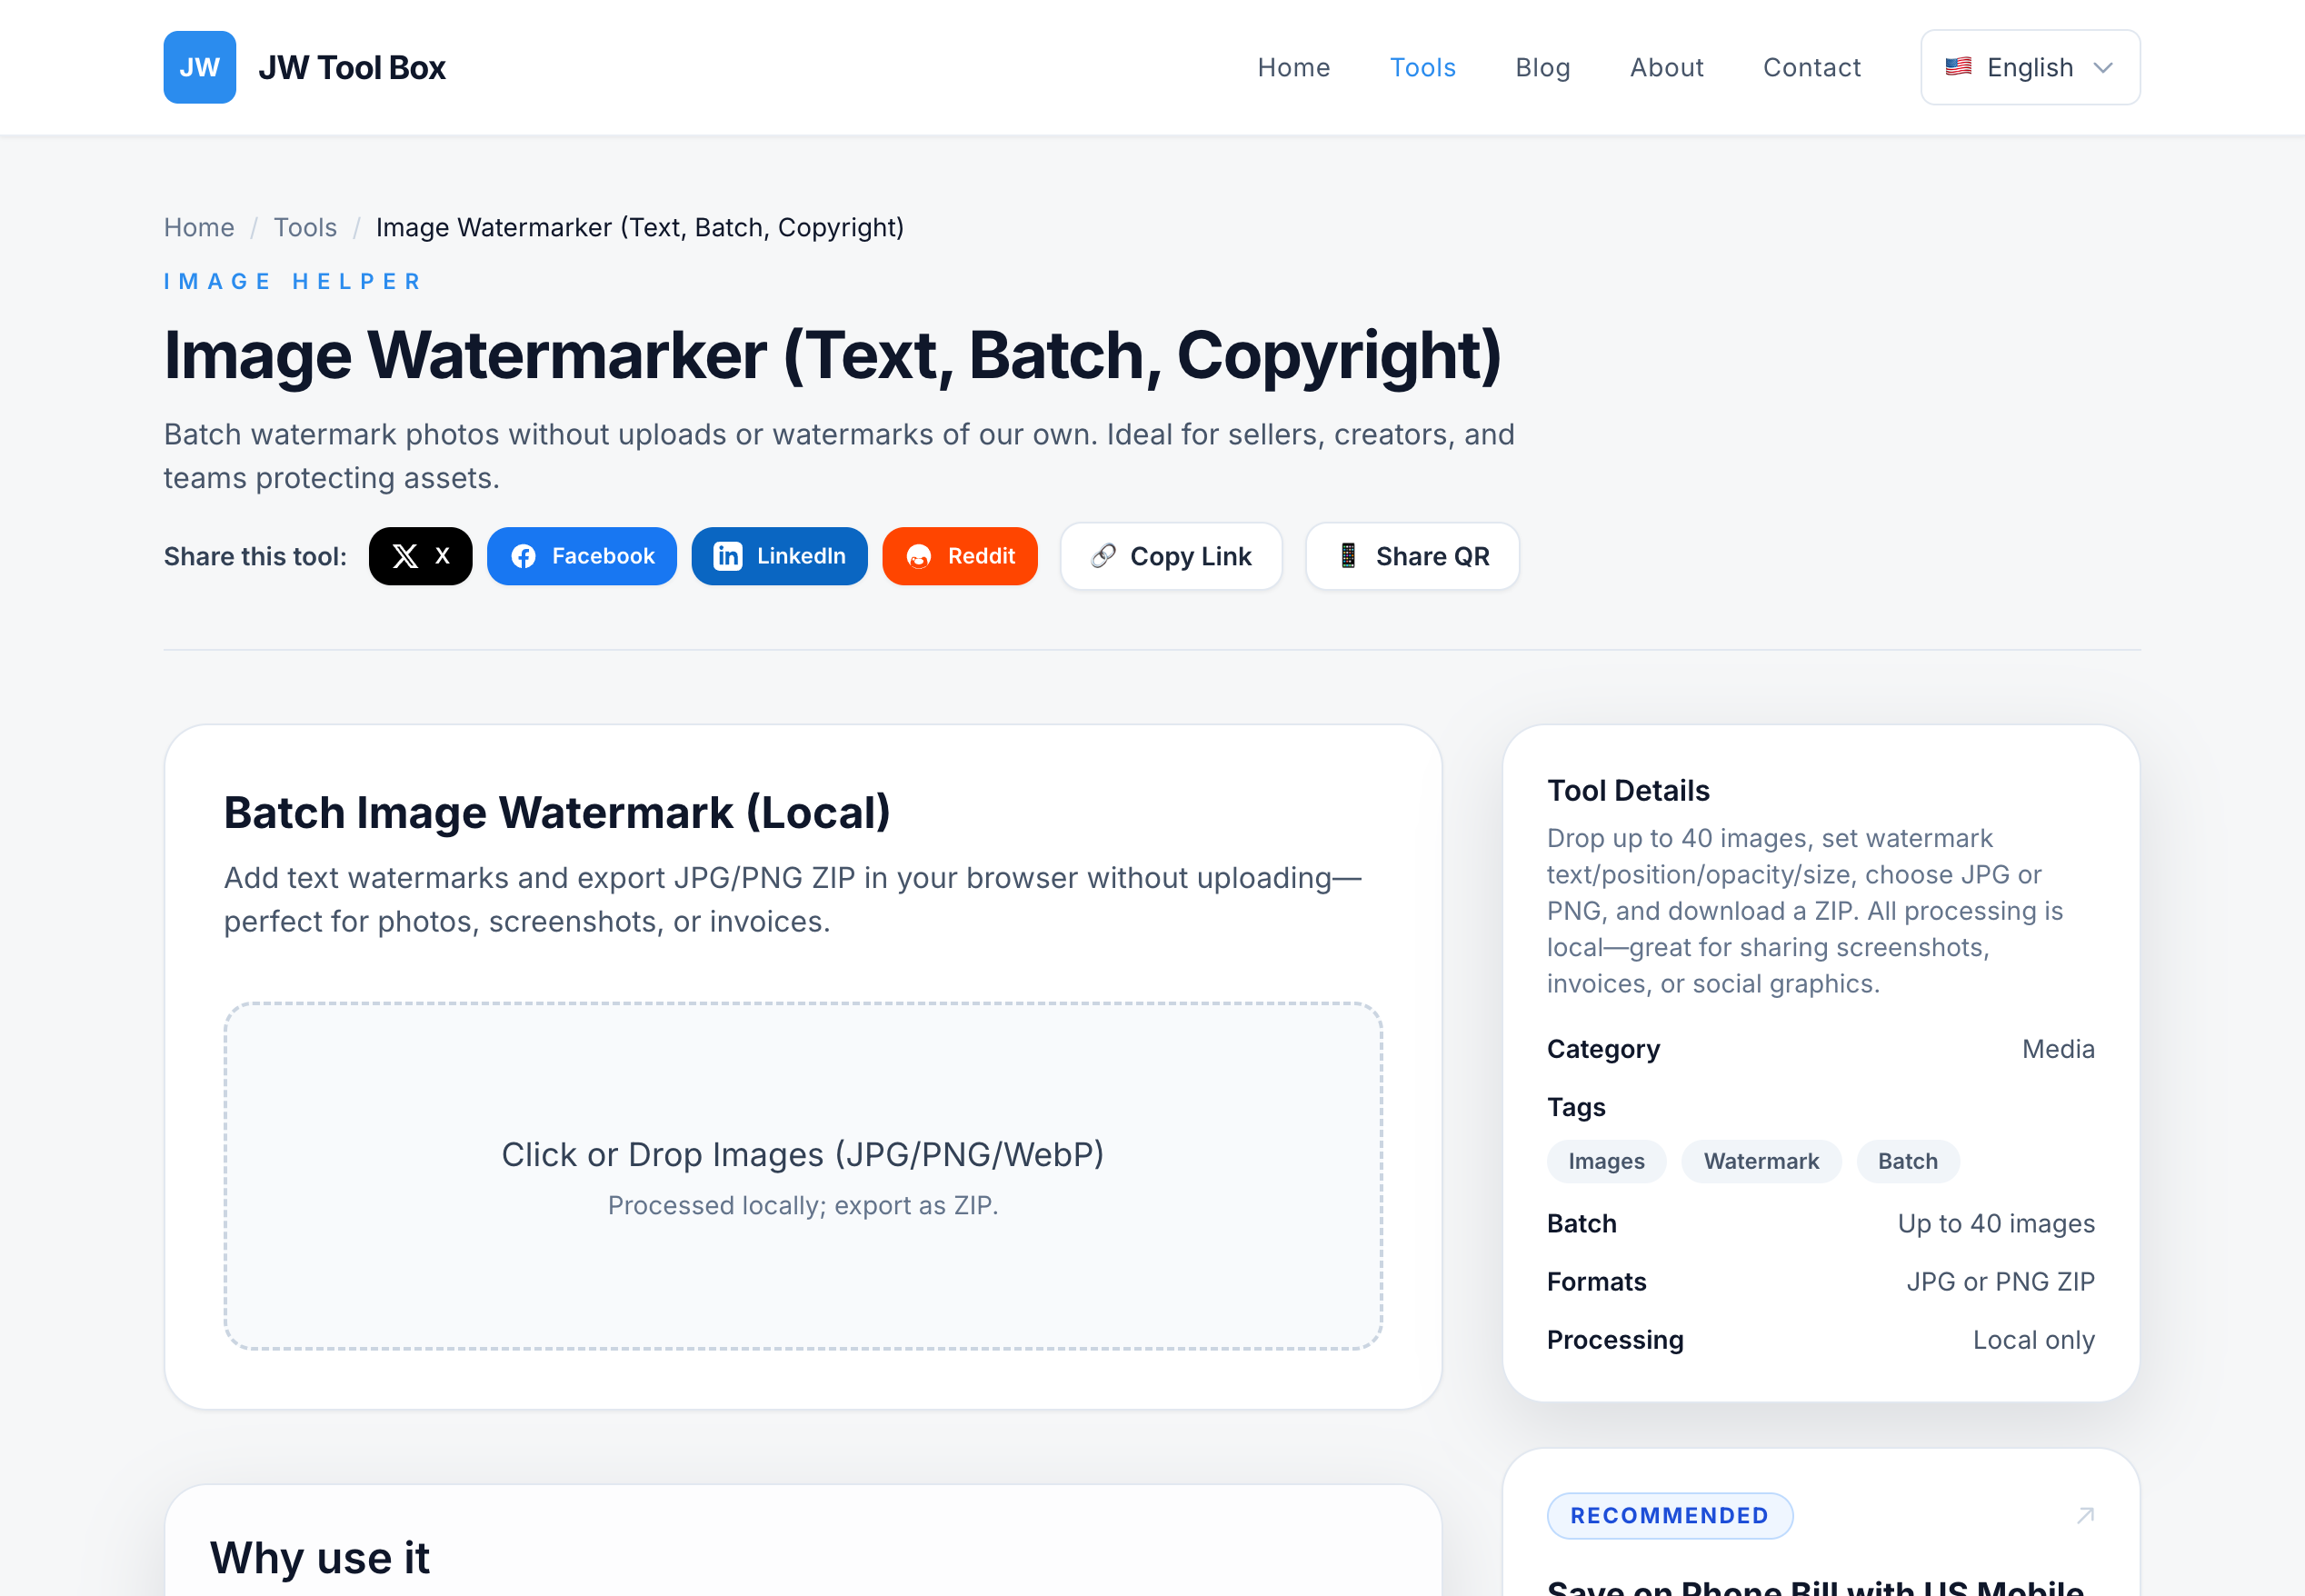
Add consistent text watermarks to dozens of images in one go, entirely in your browser. No cloud upload, no watermark on your watermark.
Why trust this guide
- Written by JW Tool Box around the actual workflow or linked tool on this page.
- Updated when browser behavior, file handling, or platform dimensions change in ways that affect the steps.
- Focused on practical settings, safe defaults, and real tradeoffs instead of generic filler.
Adding watermarks to photos protects your work and establishes ownership before sharing online. But doing it image-by-image is tedious—and uploading your photos to a cloud watermark service creates a privacy risk you probably haven't considered.
This guide covers how to batch watermark photos free, directly in your browser, in under a minute.
⚡ Quick Start
→ Image Watermark Tool — drop your files, type your text, download as ZIP.
No account required. Your photos never leave your device.
Why Add a Watermark?
- Photography: Prevent unauthorized use of your portfolio images before client approval
- Draft documentation: Mark mockups and previews with "DRAFT" or "CONFIDENTIAL" before sharing internally
- Invoices and receipts: Add your business name to generated invoice screenshots
- Social media content: Brand your content with a subtle domain or handle
- E-commerce: Protect product photos before listing approval
How to Batch Watermark Photos (Step by Step)
- Open the Tool: Go to Image Watermark
- Drop Your Files: Drag and drop multiple JPG, PNG, or WebP images at once. The tool processes them in parallel
- Enter Watermark Text: Type your text — your name, domain, brand name, or "DRAFT"
- Configure the Watermark:
- Position: Bottom-right for subtle branding; center for draft/protected assets
- Opacity: 20–35% for light branding; 40–60% for visible protection
- Size: 4–8% of image width — scales consistently across different image sizes
- Color: White works on most photos; use black for light backgrounds
- Choose Output Format: PNG for transparency and crisp text; JPG for smallest file size
- Download: Click Download ZIP to get all watermarked images at once
Recommended Settings by Use Case
| Use Case | Position | Opacity | Size | Format |
|---|---|---|---|---|
| Photography preview | Bottom-right | 20–25% | 5% | PNG |
| Client draft | Center | 40–50% | 7% | PNG |
| Invoice/receipt | Bottom-center | 30–35% | 4% | PNG |
| Social media branding | Bottom-right | 25–30% | 4% | JPG |
| E-commerce photos | Center-diagonal | 15–20% | 6% | JPG |
Opacity Guide: How Visible Should Your Watermark Be?
The right opacity depends on your goal:
- 15–25% opacity — Subtle. Visible on close inspection. Good for portfolio proofs where you want the image to sell itself
- 30–45% opacity — Moderate. Clearly readable, doesn't dominate the image. Best for professional sharing
- 50–70% opacity — Strong. Clearly marks the image as protected or draft. Use when you need users to be aware it's not final
- 75%+ — Very visible. Use only for draft/watermarked content that must not be mistaken for finals
Tips for Clean-Looking Watermarks
For dark photos (night shots, dark backgrounds):
Use a white or light gray watermark. Dark text on a dark image disappears entirely.
For bright/overexposed photos:
Use black or dark gray. A white watermark on a white sky is invisible.
For mixed-tone photos:
Add a subtle text shadow or use a semi-transparent background behind the text. The tool handles this automatically in PNG mode.
Avoid: Small text on complex backgrounds — even at 40% opacity, fine text gets lost in busy patterns. Go bigger or use a simpler background area.
Privacy: Why Local Processing Matters
When you upload photos to cloud watermarking services:
- Your original, unwatermarked images are stored on their servers (often for 24–72 hours)
- Some services use your uploaded images to "improve" their AI models
- For client photos, internal documents, or personal images, this is a real risk
JW Tool Box processes everything using browser Canvas API. Your images never leave your tab.
Frequently Asked Questions
Can I watermark PDF files too?
This tool is for image files (JPG, PNG, WebP). For PDF watermarking, you'd need a dedicated PDF tool.
Will the watermark survive screenshots?
Yes — since the watermark is baked into the pixel data (not a separate layer), it persists through screenshots, downloads, and reposts. However, determined users can still crop or remove it with image editors.
Can I use an image logo instead of text?
The current tool is text-only. For logo-based watermarks, you'd need a design tool like Canva or Photoshop.
What's the maximum number of files I can process at once?
There's no hard limit — it depends on your device's RAM. Most modern computers handle 100+ images comfortably.
Does rotating the watermark help protect photos better?
A diagonal watermark (45°) is harder to crop than a corner watermark, which is why it's commonly used for professional photo proofs. Most tools including ours support diagonal placement.
Consistent watermarking across a batch of images used to take hours in Photoshop or cost money in cloud services. The Image Watermark Tool handles a full batch in under a minute, locally.
About the author
JW Tool Box - Editorial and product review team
JW Tool Box publishes hands-on guides tied directly to the site's browser-based tools. Content is updated when browser behavior, platform rules, or product requirements change in ways that affect real workflows. The goal is to provide practical instructions, tested defaults, and trustworthy reference content instead of thin keyword filler.
Related tools
Additional browser-based utilities that are closely related to this workflow.
-
Image Compressor (Reduce Size for Web, PNG/JPG/WebP)
Shrink PNG/JPG/WebP files and export optimized assets instantly.
-
Image Watermarker (Text, Batch, Copyright)
Add text watermarks to batches of images and export as JPG/PNG ZIP.
-
Image to PDF Converter (Combine, JPG, PNG)
Combine multiple JPG/PNG images into one PDF instantly.